How to Choose and Use a Digital Food Thermometer
A digital food thermometer removes guesswork from everyday cooking. Color, juices, and cooking time can suggest that food is ready, but temperature is the dependable check for doneness and food safety.
You do not need the most expensive model. A useful thermometer should respond quickly, be easy to read, reach the center of the foods you cook, and be simple enough that you will actually use it. This guide explains the main types, the features worth comparing, and the right way to take a reading.
Instant-read or leave-in: which type do you need?
Instant-read thermometers
An instant-read thermometer is inserted near the end of cooking, gives a reading, and is removed. It is the most versatile choice for chicken pieces, burgers, fish, bread, reheated leftovers, and quick checks in several parts of a large roast.
Despite the name, readings are not literally instantaneous. Faster models settle in a few seconds, while basic models may need longer. Response time matters because a slow reading keeps the oven door open, leaves your hand near a hot grill, and makes it harder to check multiple spots.
Leave-in probe thermometers
A leave-in thermometer uses a heat-safe probe that stays in the food while a cable or transmitter connects to a display outside the oven or grill. It is useful for a large roast or whole bird because you can monitor progress without repeatedly opening the appliance.
Only leave a probe in the oven when the manufacturer specifically identifies it as oven-safe. A standard instant-read thermometer is designed for spot checks and can be damaged if it remains in a hot oven.
For many home kitchens, an instant-read model is the best first purchase. Add a leave-in probe later if you regularly cook large cuts or want an alarm during longer cooking projects.
What to look for in a digital food thermometer
1. A clear response-time claim
Look for a manufacturer-stated response time and read the instructions for how long the probe should remain in place. A fast thermometer is more convenient, but repeatable readings matter more than a headline number. Allow the display to settle rather than removing the probe at the first changing number.
2. A readable display
Large digits, a backlight, and a display that rotates can make a real difference when you are working over a deep pot or a dim grill. Left-handed cooks may appreciate an ambidextrous or rotating screen. Make sure the controls are understandable without a long sequence of button presses.
3. A useful probe shape
A narrow tip leaves a smaller opening in food and makes it easier to find the center of a thin chicken breast, burger, or fish fillet. A longer probe provides distance from heat and reaches the center of a roast. Folding probes protect the tip in a drawer and often switch the thermometer on when opened.
4. A suitable temperature range
Most general-purpose food thermometers cover normal cooking and refrigeration checks. If you plan to use one for candy, deep frying, bread, or a freezer, confirm that the stated range includes those temperatures. Do not assume every probe is designed for contact with very hot oil.
5. Water resistance and easy cleaning
Water-resistant and waterproof are not interchangeable. Check the manufacturer’s exact rating before rinsing or immersing any part of the thermometer. A smooth probe and a body without deep seams are easier to keep clean, but the electronic housing should stay out of water unless the instructions explicitly allow immersion.
6. A way to check or calibrate accuracy
Some models can be calibrated; others can only be checked and replaced if they drift outside the manufacturer’s tolerance. The instructions should explain the process. This feature is more useful than a long list of modes you may never use.
7. Practical battery and storage details
Consider whether the battery is common and replaceable, whether the thermometer shuts off automatically, and whether a magnet or hanging hole fits your kitchen. Store it where you can reach it during cooking rather than in a distant drawer.
How to take an accurate temperature
- Identify the thickest part. The coolest area is often near the center of the thickest section.
- Avoid bone, the pan, and large pockets of fat. Contact with these can produce a reading that does not represent the edible center.
- Insert the sensing area fully. On many instant-read models, the sensor sits in the narrow tip, but check the manual for your thermometer.
- Approach thin foods from the side. Sliding the probe horizontally into a burger, chicken breast, or fish fillet makes it easier to place the tip in the center.
- Wait for the display to settle. A rapidly changing number is not the final reading.
- Check more than one spot. Large or irregular foods can cook unevenly. Clean the probe between foods and avoid carrying juices from one item to another.
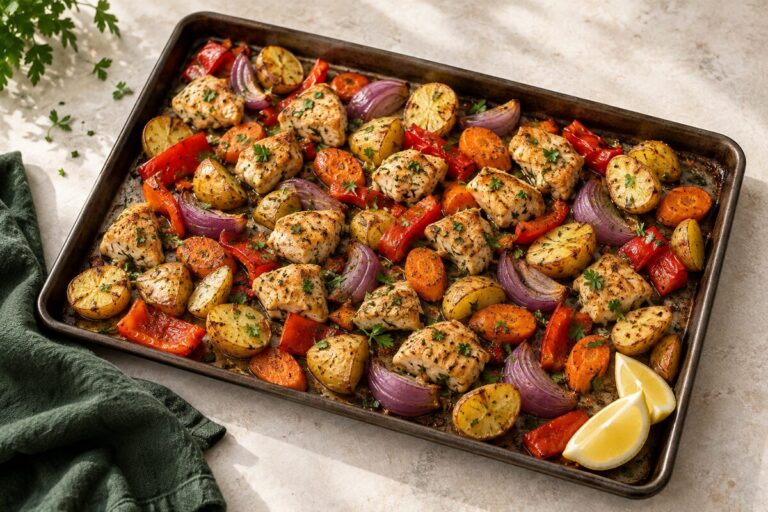
For a tray of small pieces, test several of the thickest pieces in different areas of the pan. This is especially helpful for our sheet pan lemon herb chicken and vegetables, where piece size affects cooking time.
Common minimum internal temperatures
The following are widely used U.S. food-safety minimums for home cooking. Guidance can be updated, and special situations may require different handling. Check current recommendations from the USDA or your local food-safety authority when accuracy is especially important.
| Food | Minimum internal temperature | How to check |
|---|---|---|
| Poultry, including ground poultry | 165°F (74°C) | Check the thickest part; avoid bone |
| Leftovers and casseroles | 165°F (74°C) | Check several places, especially the center |
| Ground beef, pork, veal, and lamb | 160°F (71°C) | Insert from the side into the center of thin patties |
| Whole cuts of beef, pork, veal, and lamb | 145°F (63°C), followed by a 3-minute rest | Check the thickest part away from bone and fat |
| Fish | 145°F (63°C) | Check the thickest part of the fillet |
Temperature is only one part of safe handling. Keep raw meat and poultry separate from ready-to-eat foods, wash hands after handling raw ingredients, and refrigerate perishable food promptly. Keep the refrigerator at 40°F (4°C) or below.
How to check thermometer accuracy
Follow the manufacturer’s instructions first. A common home check uses an ice-water slurry: fill a glass with plenty of ice, add cold water to fill the gaps, stir, and let it stand briefly. Place the probe’s sensing area in the center without touching the sides or bottom. In a properly prepared slurry, the reading should be close to 32°F (0°C).
If the result is outside the stated tolerance, calibrate the thermometer only if the manual provides a supported procedure. Otherwise, contact the manufacturer or replace it. Recheck after a hard drop, prolonged storage, or any reading that seems inconsistent.
Cleaning and avoiding cross-contamination
Clean the metal probe with hot, soapy water after each use and before inserting it into another food when cross-contamination is possible. Keep water away from the display and hinge unless the manufacturer says the unit is waterproof. Dry the probe before folding or storing it.
If the probe touches raw poultry and the food is not yet done, clean the probe before checking again. Do not return a contaminated thermometer directly to a clean counter, utensil drawer, or cooked food.
What you can skip
Preset labels for many meats can be convenient, but they do not replace knowing the current safe temperature or choosing your preferred degree of doneness above that minimum. A smartphone connection, multiple alarms, or a color screen may be useful for some cooks, but none is essential for quick weeknight checks.
Prioritize a clear display, dependable response, easy cleaning, and a probe that fits the food you cook most often. Those basics are more likely to improve everyday use than a long feature list.
Frequently asked questions
Can I leave an instant-read thermometer in the oven?
No, unless the manufacturer explicitly states that the entire thermometer is oven-safe. Most instant-read models are for brief spot checks. Use a designated leave-in probe for continuous monitoring.
Where should I put the thermometer in a chicken breast?
Insert the probe into the thickest part and aim for the center without touching the pan. For a thin breast, approach from the side so more of the sensing tip stays inside the food.
Why does the temperature change in different spots?
Food thickness, pan position, bone, fat, and uneven heat can create hot and cool areas. Use the lowest reliable reading from the thickest areas to decide whether more cooking is needed.
How often should I replace a food thermometer?
There is no single replacement schedule for every model. Check accuracy periodically and after a drop. Replace a thermometer that cannot be calibrated within its stated tolerance, has a damaged probe or housing, or gives unstable readings after a fresh battery.
For more practical kitchen help, browse Kitchen Guides, our Quick & Easy collection, and the guide to meal-prep lunches without eating the same meal all week.